How to Draw a Parrot Very Easy
The parrot, also known as psittacine, is a colorful bird found primarily in tropical and subtropical regions.
Though there are over 350 species of parrots, all of them have a few physical features in common: a curved, pointed beak and four toes on each foot.
When choosing a pet bird, a parrot is typically at the top of the list.
And because of a parrot's adorable features and colorful feathers, it also makes a fascinating subject in many artworks, including drawing.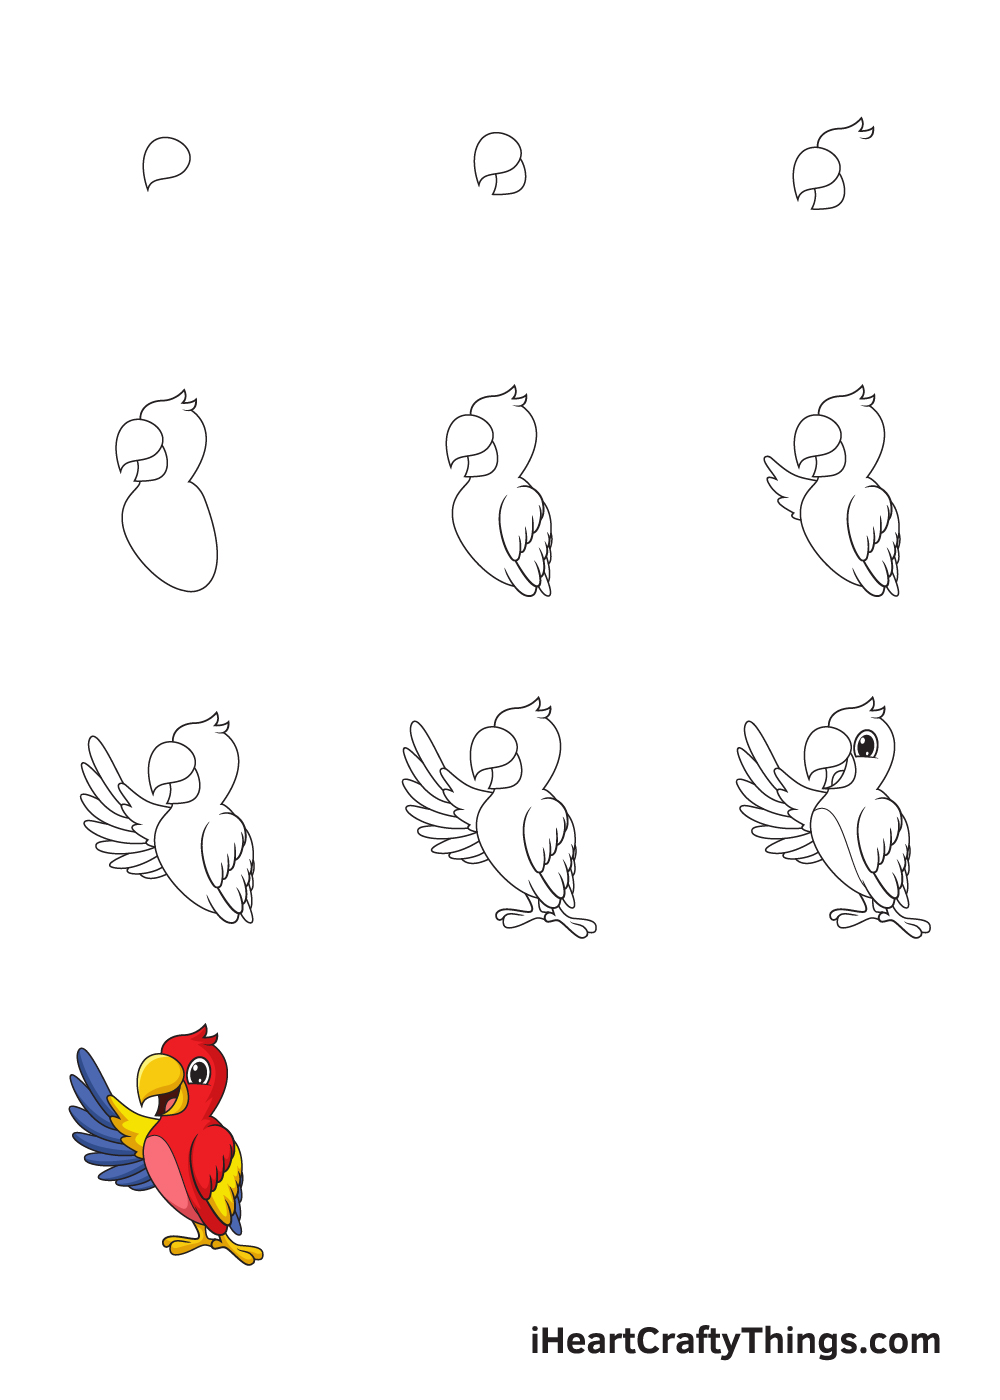
We have created a step-by-step tutorial on how to draw a parrot, summed up in 9 easy and simple steps.
What's fun about this tutorial is that it allows you to customize your drawings and handpick a unique set of colors for your drawing!
Have fun and use your imagination and creativity!
What's in this Blog Post
- How to Draw a Parrot — Let's get started!
- Step 1
- Step 2 — Draw the Beak of the Parrot
- Step 3 — Next, Draw the Parrot's Head
- Step 4 — Then, Draw the Body of the Parrot
- Step 5 — Afterwards, Draw the Right Wing
- Step 6 — Create the Form of the Left Wing
- Step 7 — Complete Both Left and Right Wing
- Step 8 — Draw the Parrot's Legs and Toes
- Step 9 — Now, Add the Details and Facial Features
- Your Parrot Drawing is Complete!
How to Draw a Parrot — Let's get started!
Step 1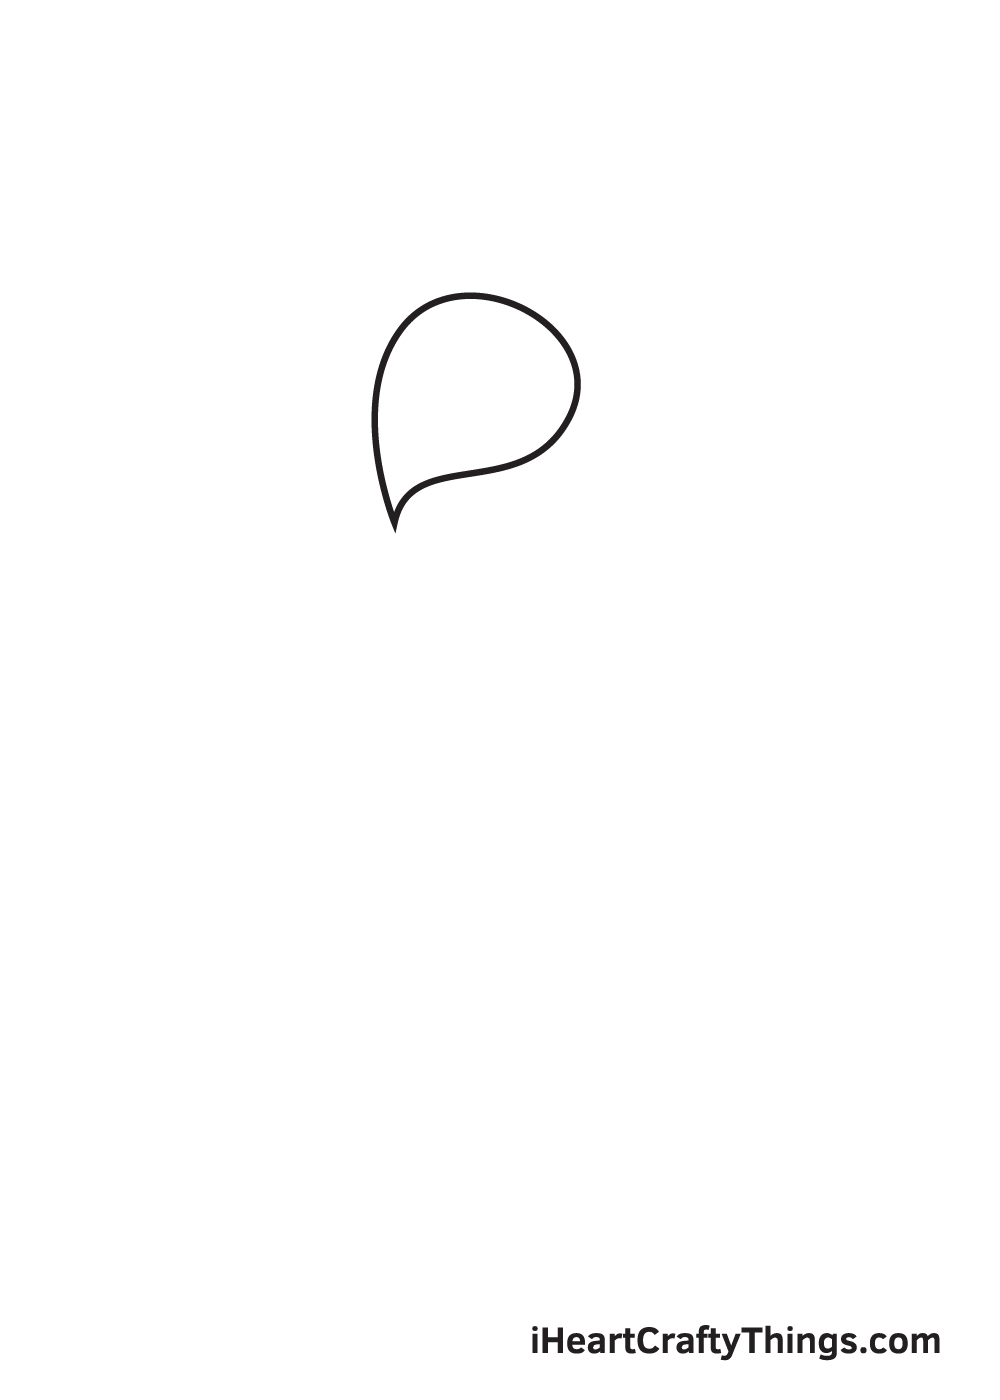
Beginning on the upper portion of your paper, draw an upside down droplet shape. This forms the upper beak of the parrot.
Make sure that the top part of the shape is wide and rounded while the bottom part is sharp and pointed.
To ensure that the parrot will be drawn in the center of your paper, you can create reference lines by drawing an intersecting horizontal and vertical line across your paper.
The vertical line at the top marks the spot where you should draw the outline of the upper beak. This guideline also ensures that there's sufficient space at the bottom for the entire body, wings, and feet of the parrot.
Step 2 — Draw the Beak of the Parrot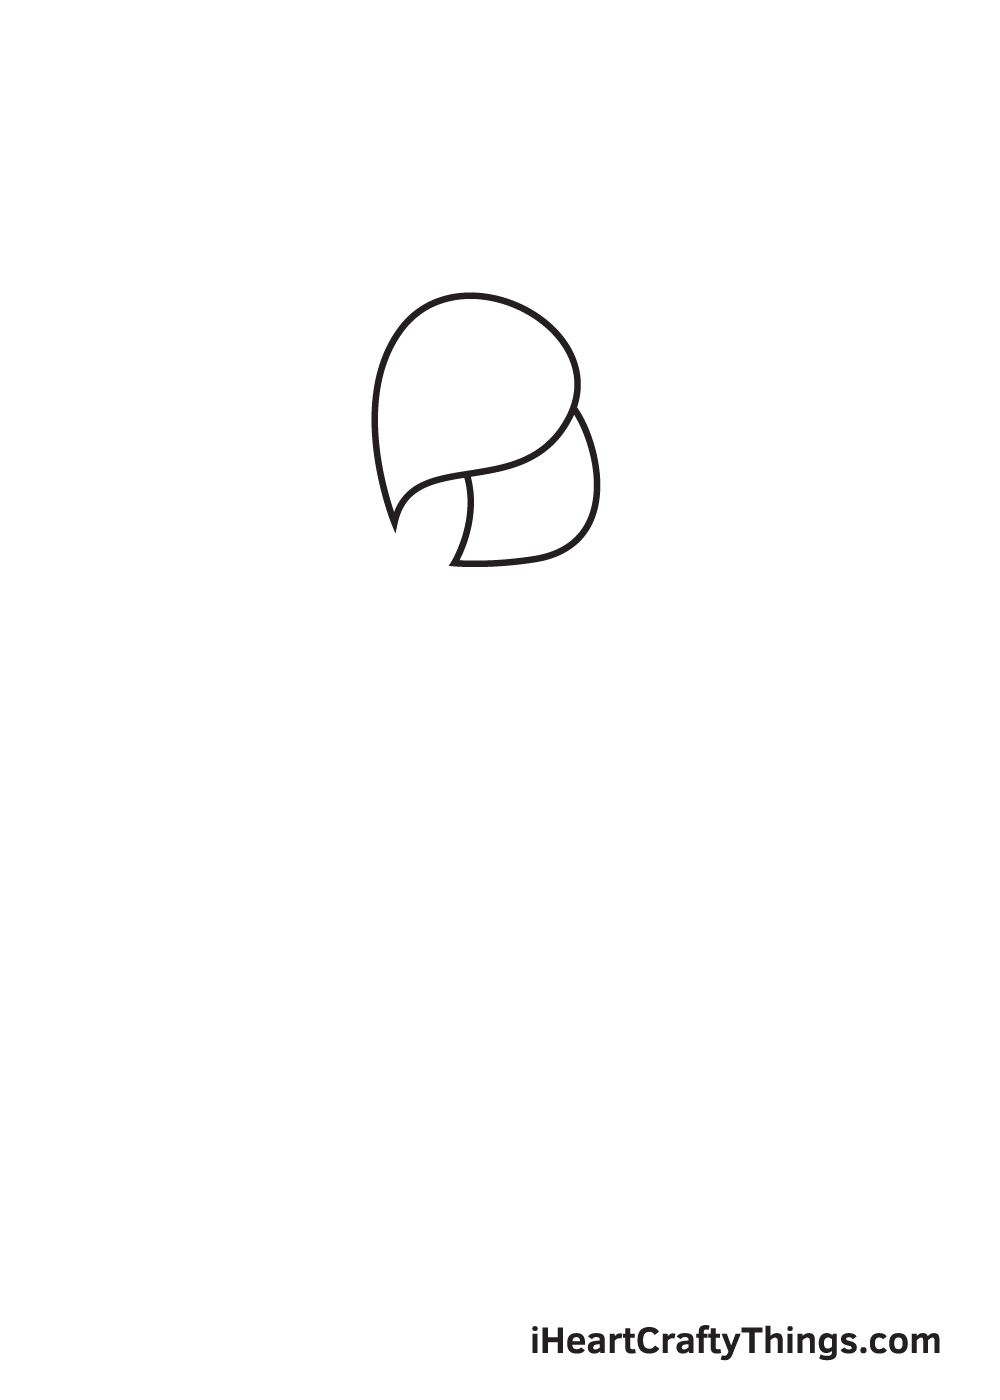
Draw a pointed shape right underneath the upside down droplet shape we drew in the previous step. This creates the bottom beak of the parrot.
Take note that this shape should be slightly smaller than the one we drew previously. Also, the bottom beak should only be visible halfway through, as seen in the illustration, as the upper beak partly covers it.
Step 3 — Next, Draw the Parrot's Head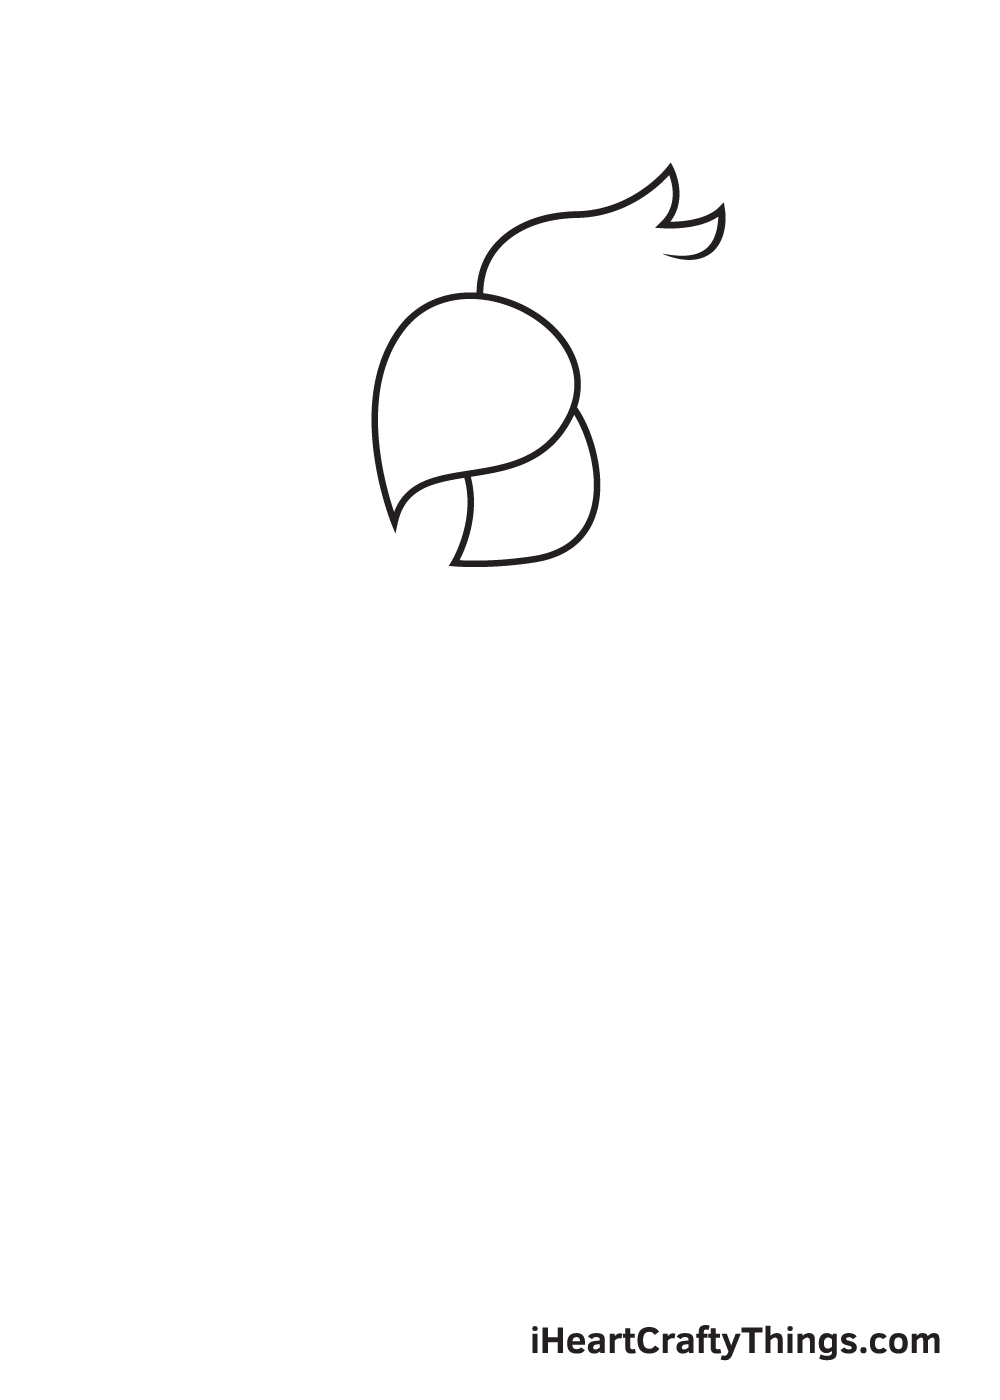
Draw a curved line beginning from the top of the beak to form the head.
Don't forget to add thick pointed clumps of feathers to add texture! This helps make the parrot appear more realistic.
Step 4 — Then, Draw the Body of the Parrot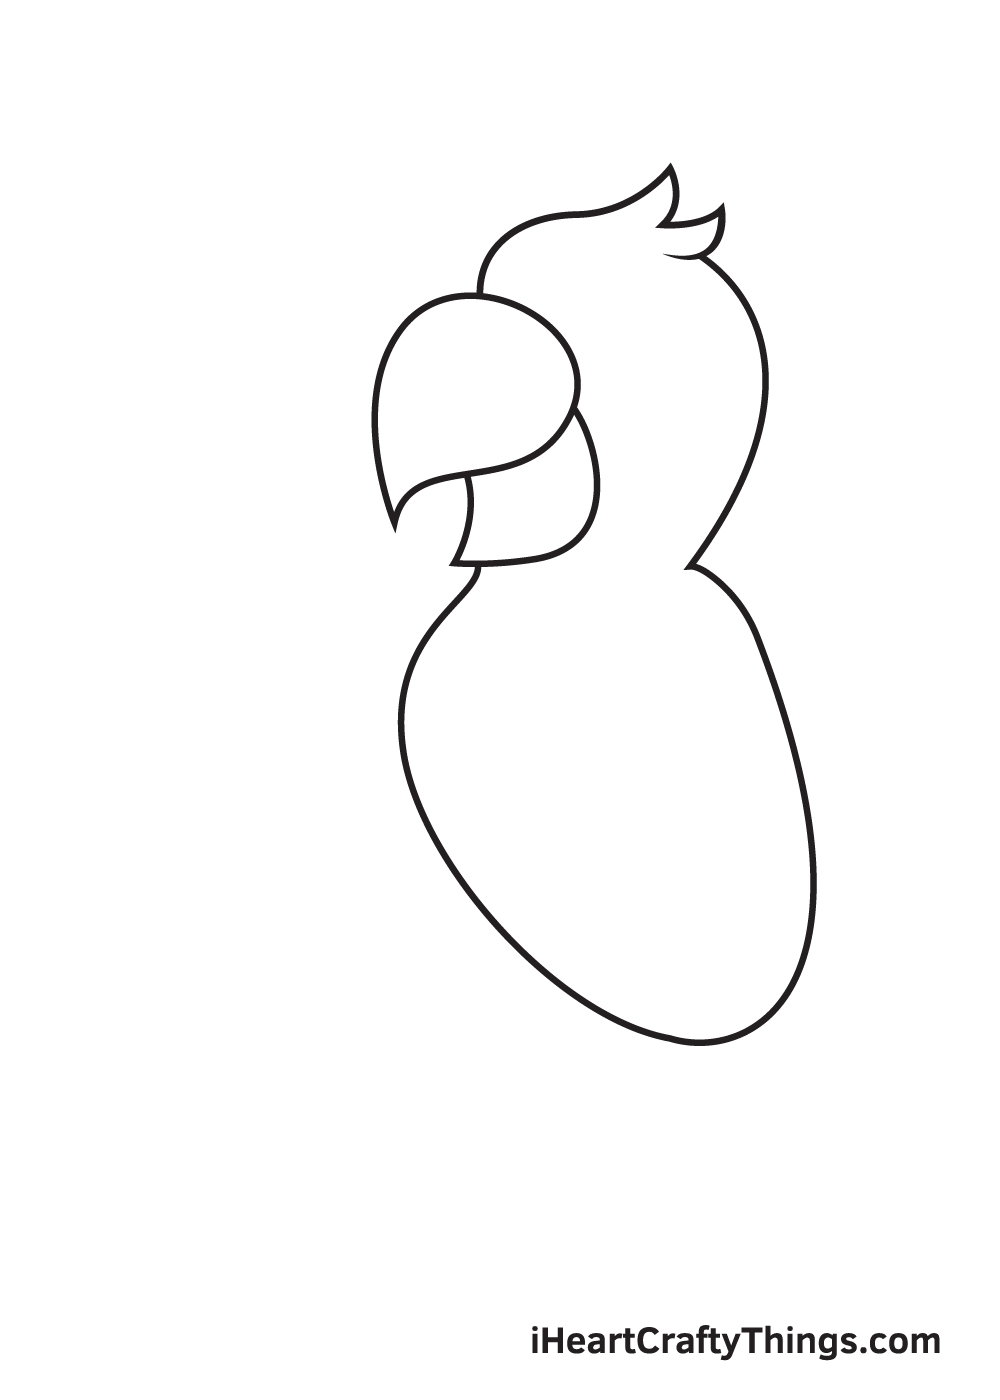
Extend the line forming the head downwards to create the entire body of the parrot.
Keep in mind to emphasize the chest by making the middle part of the parrot's body wider than the rest/
Step 5 — Afterwards, Draw the Right Wing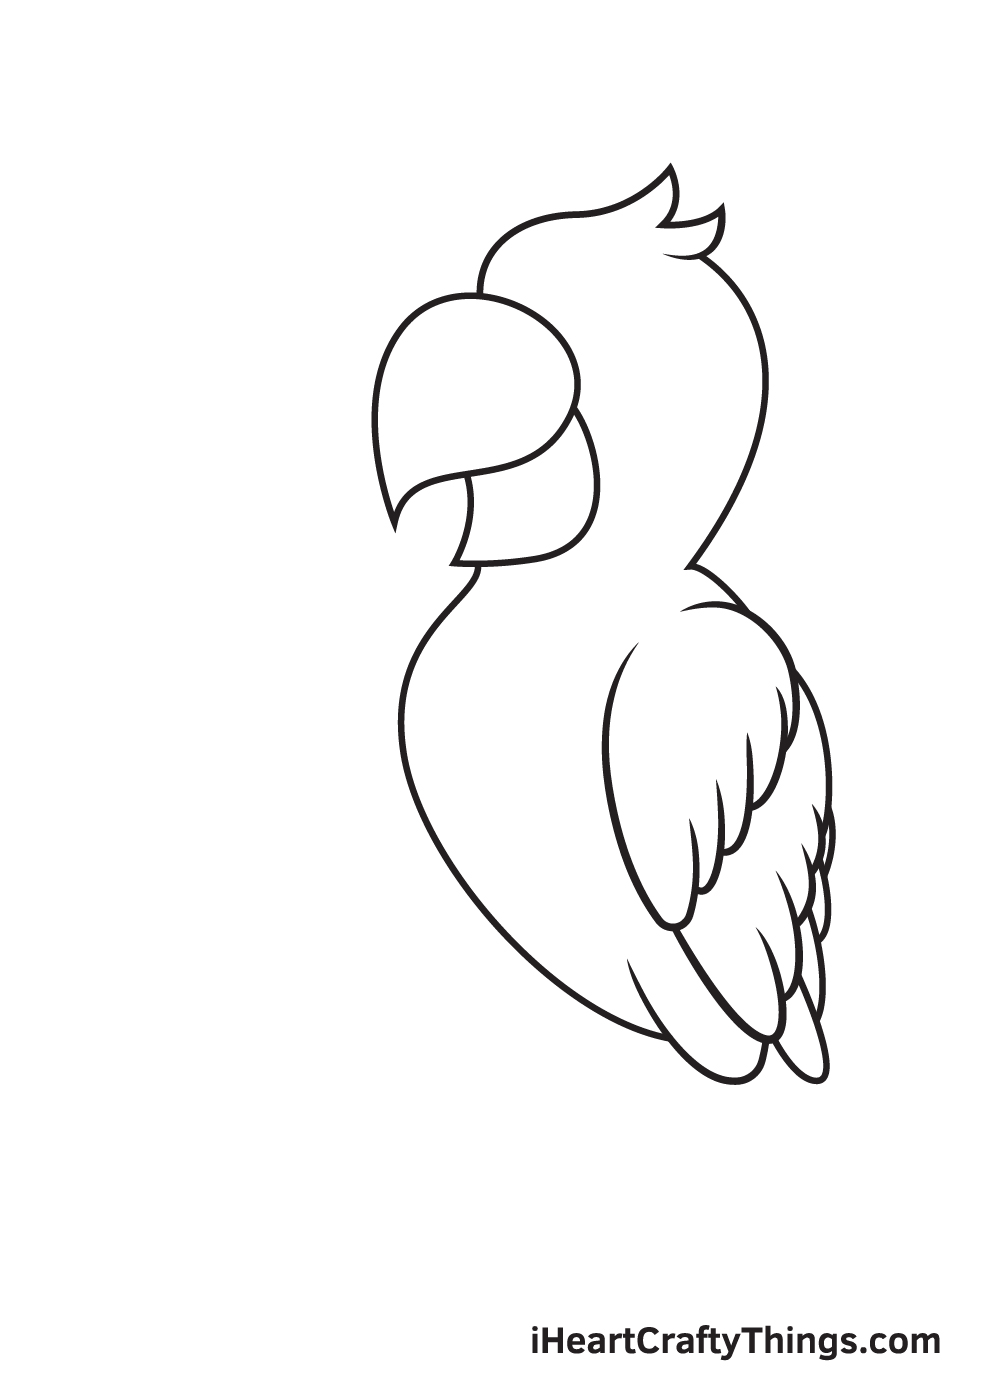
Create the wing on the right side of the parrot's body by drawing layers of multiple feathers side by side.
The feathers can be created by simply drawing several curved lines shaped like a capital letter "U".
The length of the wing should be nearly as long as the length of the parrot's body.
Step 6 — Create the Form of the Left Wing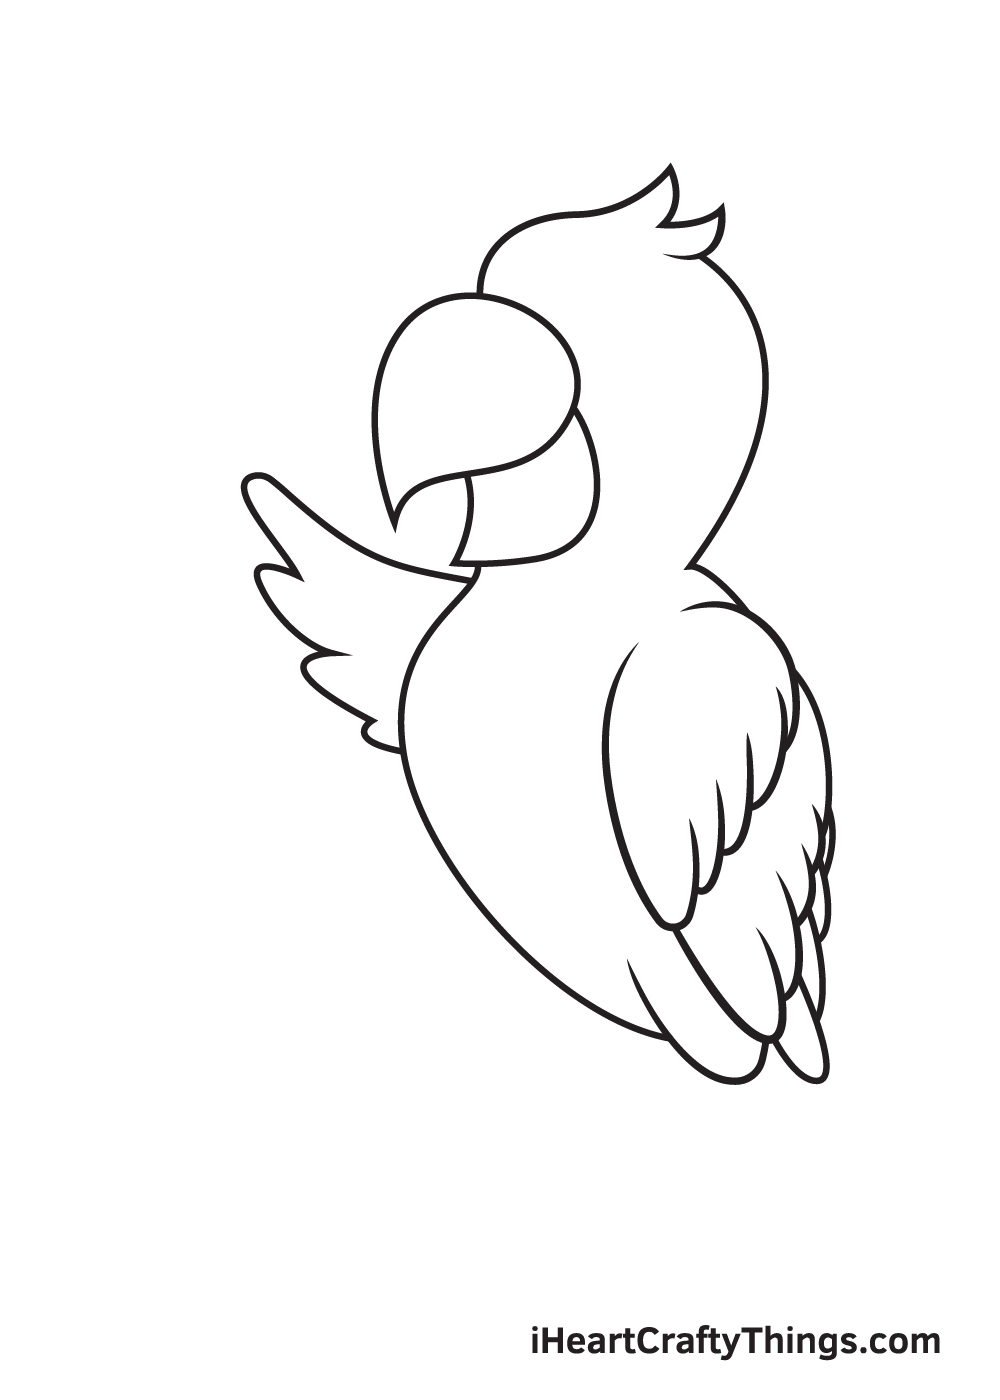
On the opposite side of the parrot's body, draw a slightly curved line going upwards.
Once the line is more than an inch long, draw multiple U-shaped curved lines going downwards until you reach the chest of the parrot. This forms the inner part of the left wing.
As you can see in the illustration, the left wing is raised upwards, unlike the right wing which is perfectly still on the side of the parrot's body. Thus, the shape and form of these two wings differ.
Step 7 — Complete Both Left and Right Wing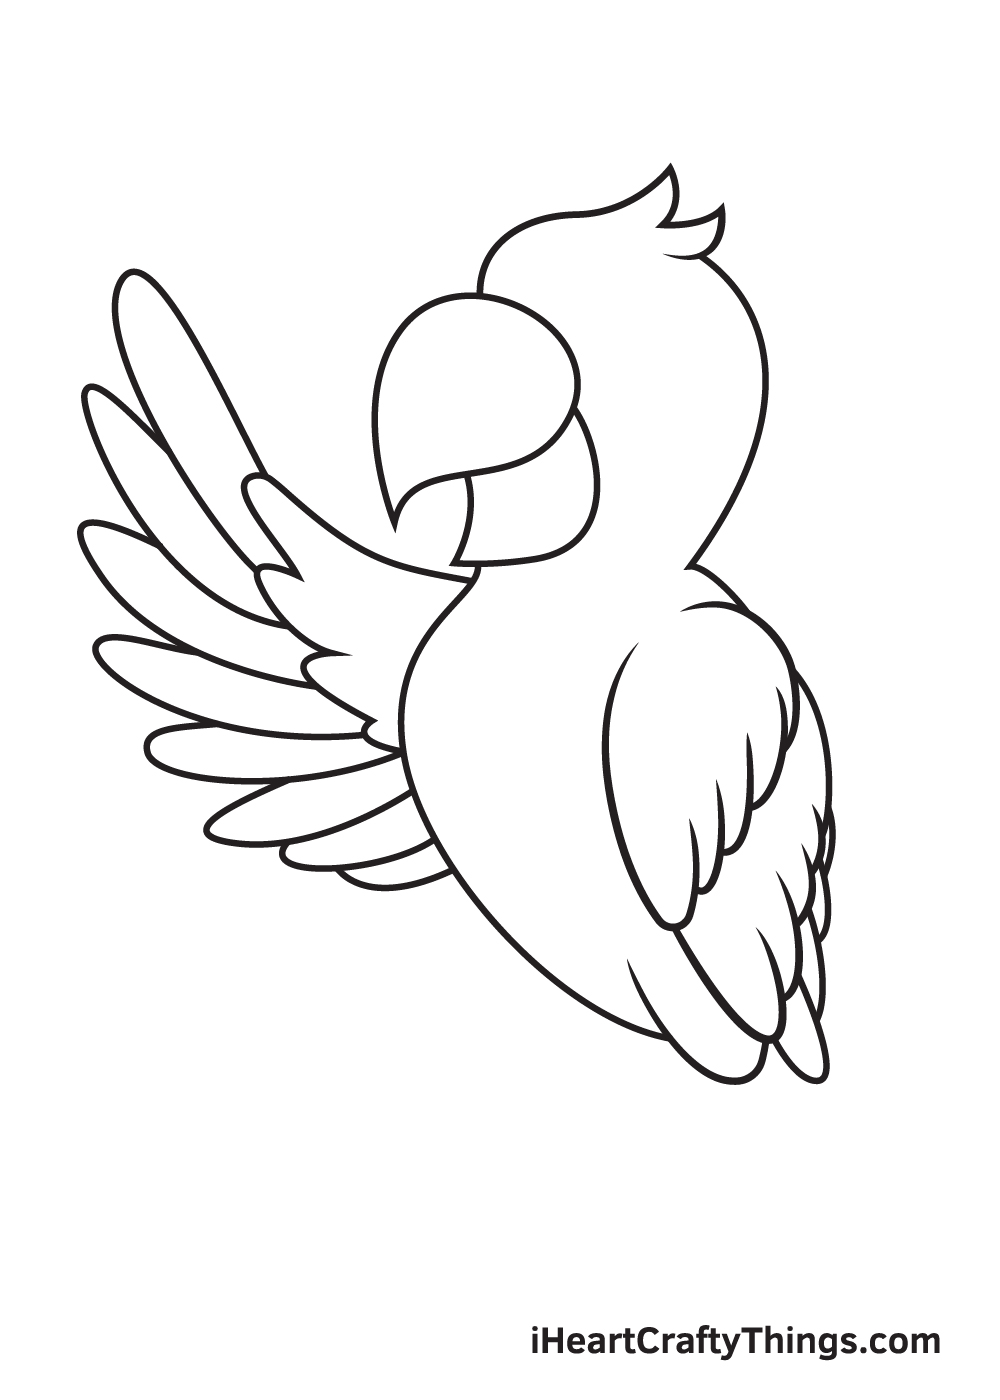
Using the inner part of the left wing as a guide, draw multiple elongated shapes forming the feathers.
Keep in mind that the feathers should be spread apart because the wing is raised upwards, as shown in the illustration.
Step 8 — Draw the Parrot's Legs and Toes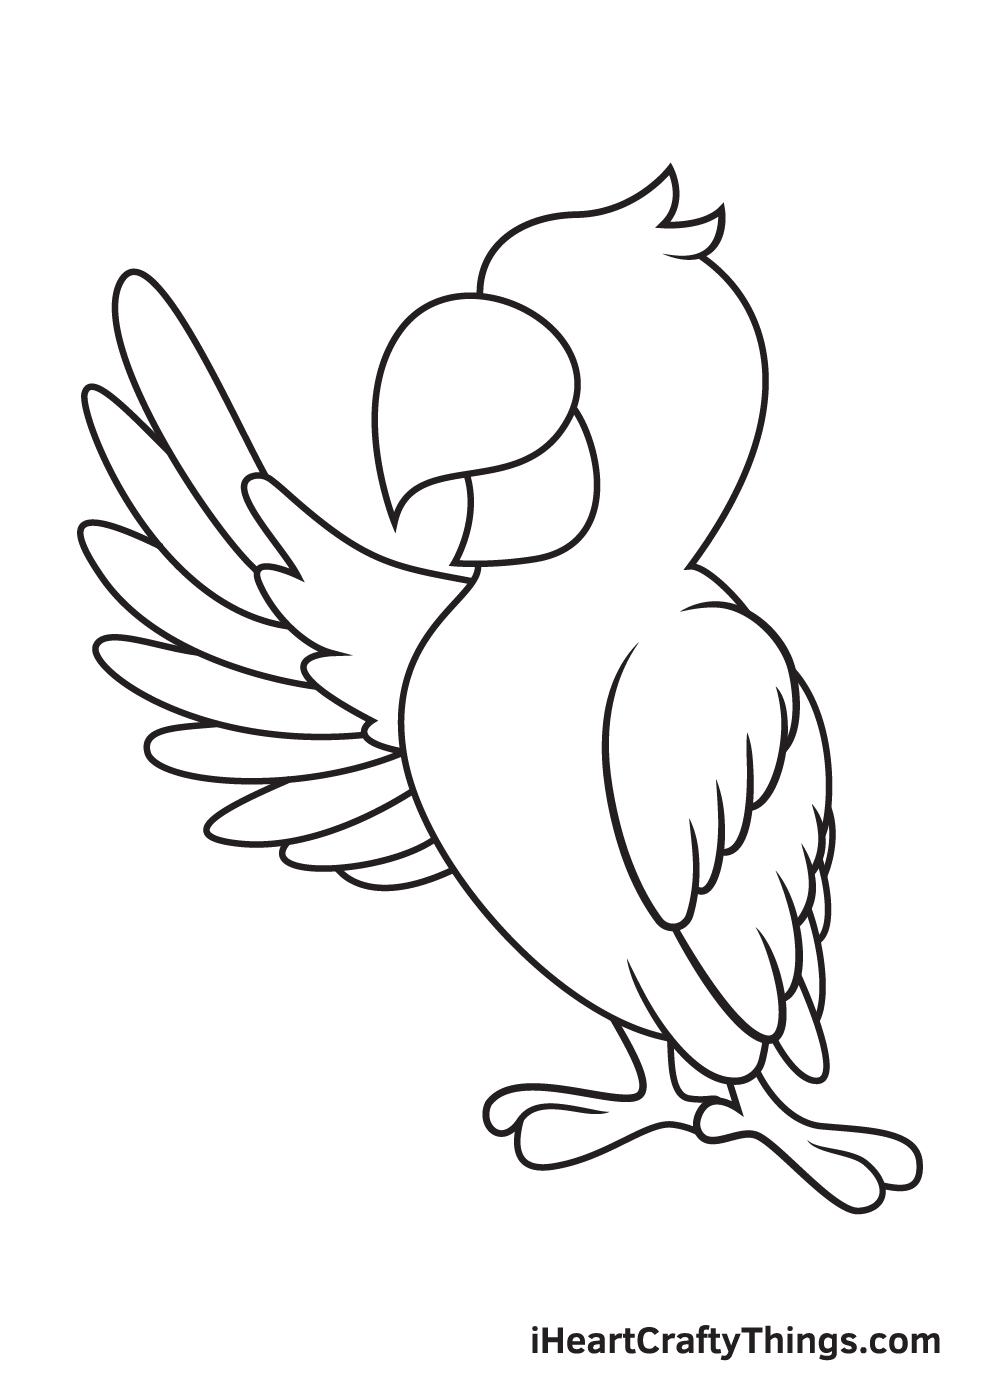
Right underneath the body of the parrot, draw two short, thin legs with the feet right at the bottom.
Don't forget to add separate toes at the front and the back of each foot!
Step 9 — Now, Add the Details and Facial Features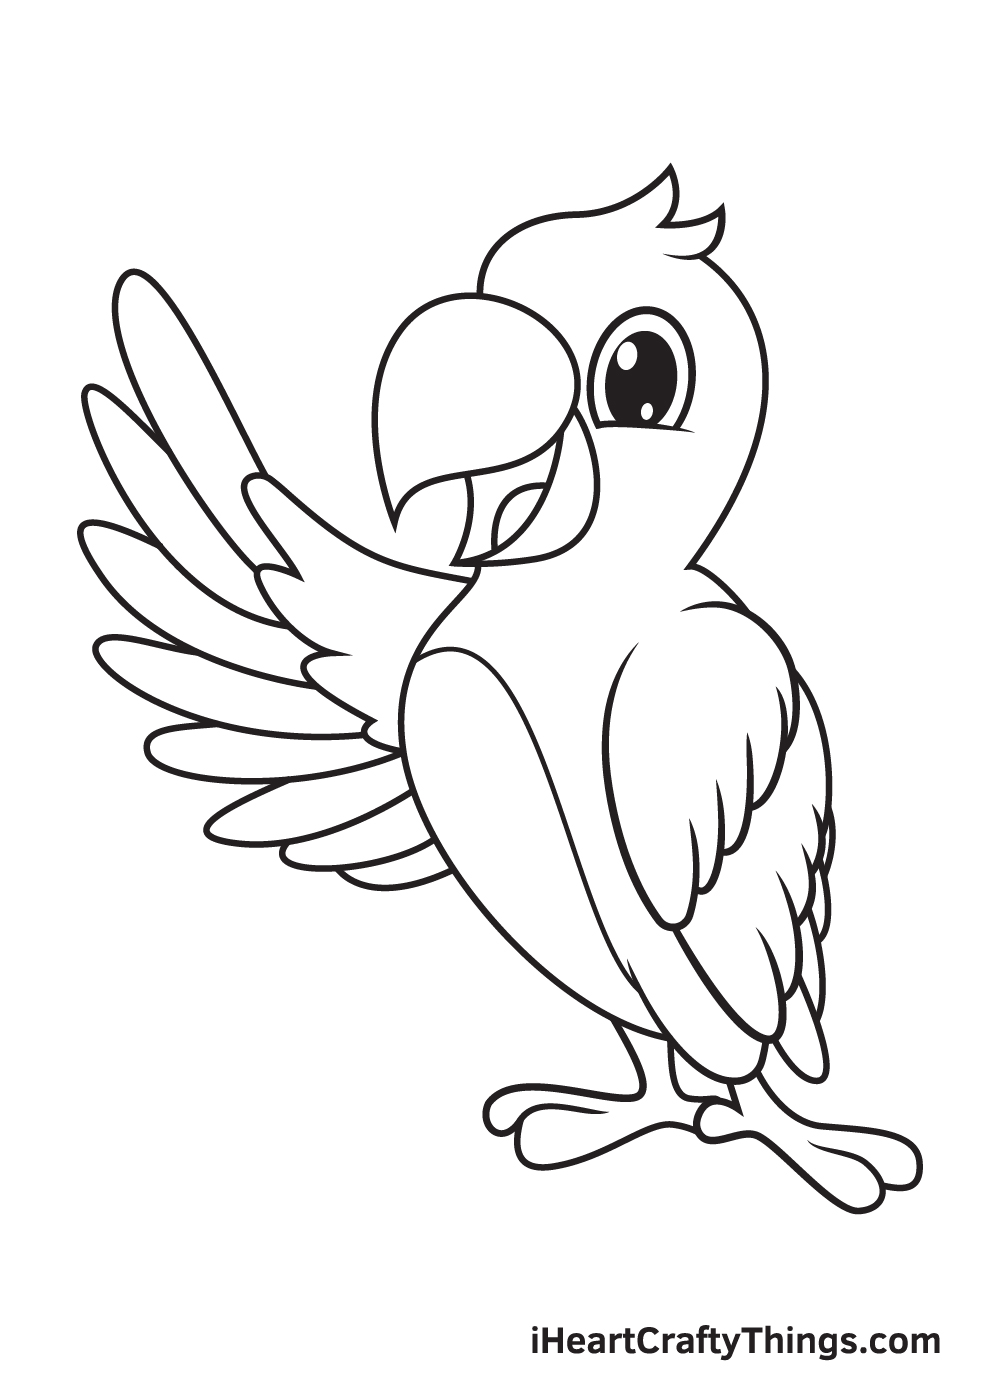
Adding patterns and details are essential when drawing any type of bird. It adds texture on the bird, making your drawing look realistic.
Starting from top to bottom, proceed by drawing an upside down U-shaped line with a horizontal line at the bottom to form the huge eye of the parrot.
Then, draw an upright oval shape inside the eye to create the pupil. Afterwards, draw a small circle within the pupil. Now, shade the pupil while leaving out the tiny circle unshaded.
Moving on to the mouth, draw a diagonal slope line with a curved line right beside it to polish up the appearance of the beak and create the tongue as well.
Lastly, draw a curved line down the length of the parrot's body to create a distinct line separating the underside.
Now that we've successfully drawn a parrot, it's time for the most exciting part, which is choosing the colors and coloring the parrot!
This is the part where you can showcase your artistic skills and your ability to mix and match different colors.
While parrots are predominantly green in color, there are other species of parrots with a hint of other vibrant colors like red, pink, and yellow.
This gives you a wide range of color options to choose from when coloring your parrot.
Have fun playing with colors and watch as the parrot ultimately comes to life!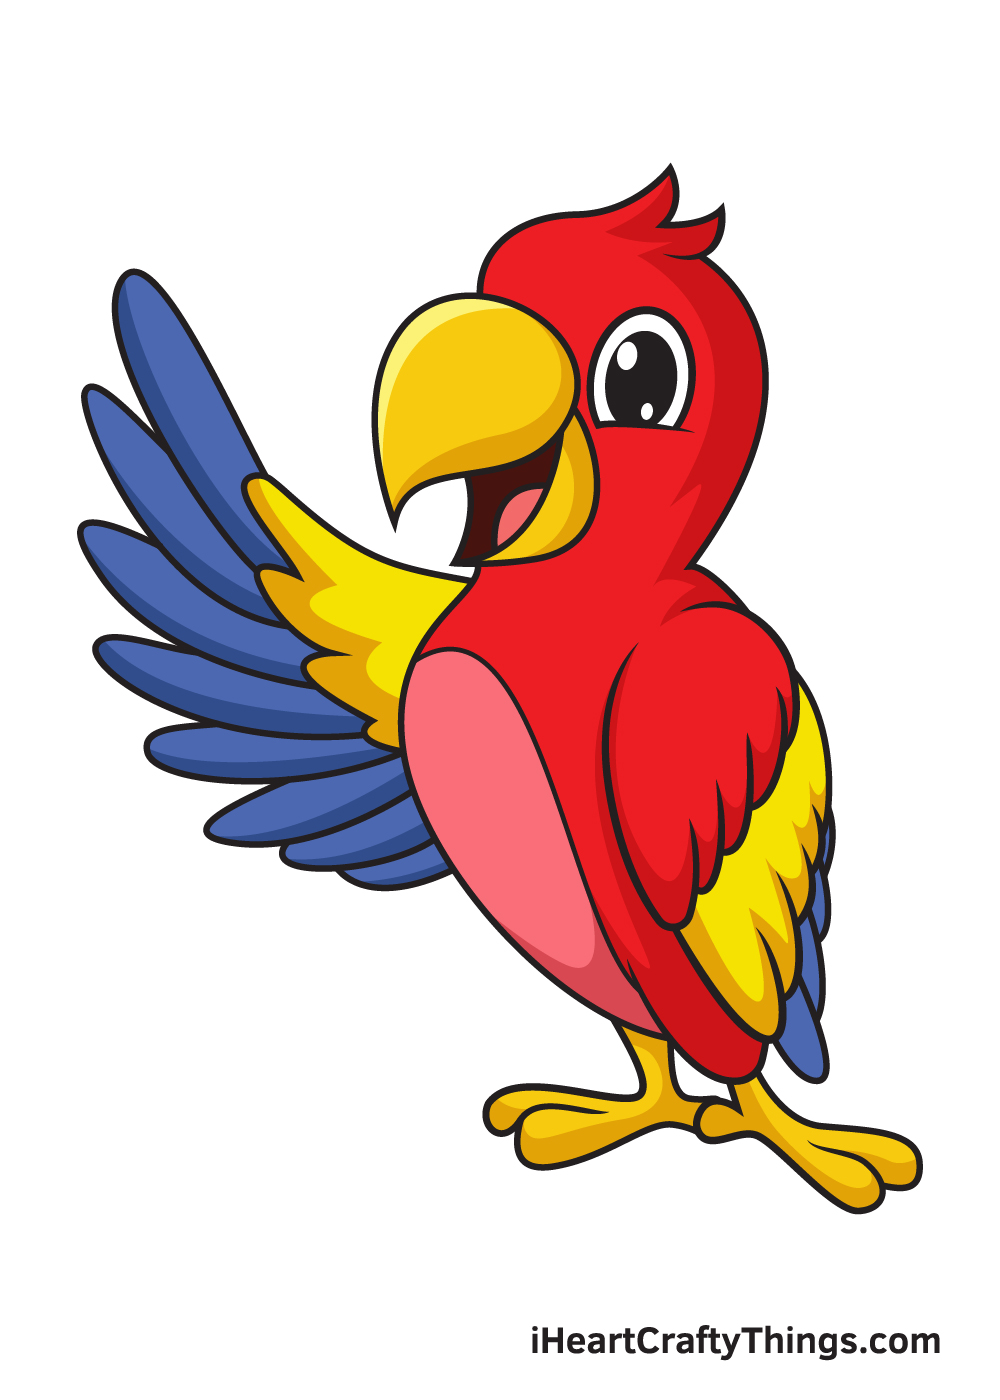
Your Parrot Drawing is Complete!
We hope you enjoy this step-by-step parrot drawing tutorial. Whether you're a beginner or an expert in drawing, we're sure you can draw an adorable parrot in no time!
We are regularly uploading new drawing tutorials on our "How to Draw" catalog, so make sure you keep checking back to continuously learn how to draw something new!
What kind of bird would you like to learn how to draw next?
Once you've finished drawing and coloring a parrot, take a picture of your masterpiece and share it on our Facebook page and on Pinterest.
Don't be embarrassed to show off the results of your hard work—we're sure it looks incredible!
We're excited to see your colorful parrot drawing!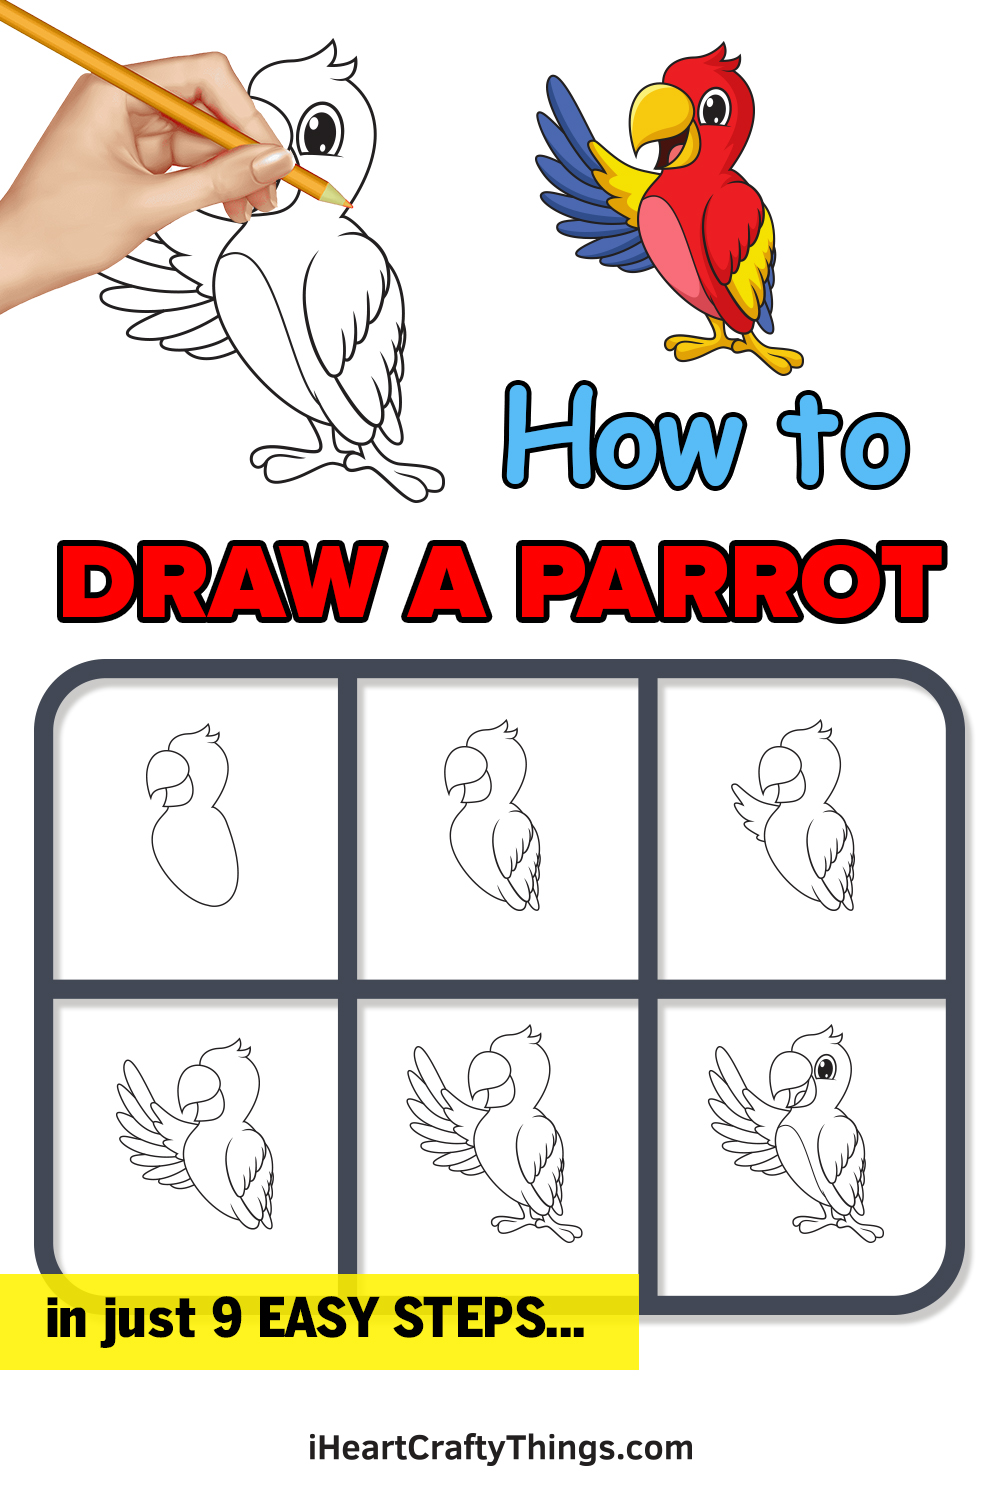
How to Draw a Parrot Very Easy
Source: https://iheartcraftythings.com/parrot-drawing.html